source: http://www.useyourmac.com/howto/vlc-trim-video.html
Preferences
With your video stopped, go to the Preferences of the application that is under the VLC Menu.
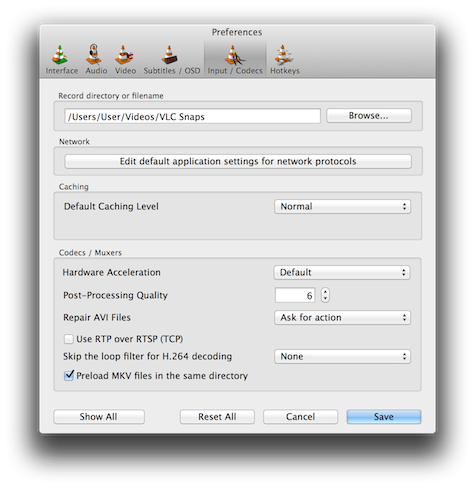
Choose the Input/Codecs Tab. There, Under 'Record Directory' you have to declare where on your disc the files will be saved. Hit 'Browse...' and go to the place you choose. You can even create a new directory (folder) right within the dialog box.
Once you have your Preference fixed, hit 'Save' and close the Preferences window. It stays there forever, exept if you decide to change it. So, you won't have to do this every next time.
Restart playing your video, till you'll reach the beginning of the the part you want to keep. If this is far from the spot the cursor is at this moment, you can slide the PlayHead into the right position. You can slide it back and forth, to the exact point.

Stop the playback (spacebar).
Get Ready to Record
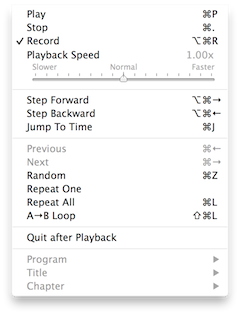 Next, you have to explain to VLC that you want it to record a portion of your video. Roll down the Playback Menu. In there, click to select 'Record'. With this checked, all the playback will be re-recorded on disk.
Restart playing the video and let it run to the end of the section, then stop it.
The new video is saved onto your disk.
There is no quality loss since VLC will copy exactly what it reads from the video file. It will save it in the same file format as the original.
You will find your new video in the folder you have previously chosen. VLC names it after the original and stamps it with the time being created. Your original stays behind untouched.